What to Check After Mold Remediation to Ensure Clean Indoor Air
Mold remediation is a thorough process, but the work does not end when the visible contamination is gone. The real measure of success is the air you breathe once the affected areas are cleaned and dried. After a mold removal project, the indoor environment can still contain microscopic particles that are invisible to the naked eye. Taking a systematic approach to check the air quality helps confirm that the remediation was effective and that the space is safe to occupy again.
This checklist covers the main points to inspect and test after mold remediation. It focuses on what matters most for indoor air quality: moisture control, residual spores, airborne particles, and the condition of surfaces. Each step includes a brief reason so you understand why it matters.
Confirm That Moisture Sources Are Fully Resolved
Mold cannot grow without moisture. If the underlying water problem has not been fixed, mold will return no matter how thoroughly the visible growth was removed. Start by checking the source of the original moisture. Whether it was a plumbing leak, a roof drip, high humidity, or groundwater seepage, that issue must be corrected before you can trust the air quality.
Look for signs of standing water or dampness in the areas that were treated. Use a moisture meter on porous materials such as drywall, wood framing, or subflooring. Readings above the normal baseline for the material indicate that drying is incomplete. Even a small pocket of trapped moisture can sustain mold growth behind walls or under flooring. If the area is dry to the touch but the meter shows elevated readings, the drying process is not finished. Give the structure more time with proper ventilation and dehumidification before moving forward with testing.
Inspect for Residual Visible Mold and Staining
After remediation, the treated surfaces should be free of visible mold growth. Check corners, baseboards, window sills, and any crevices where mold can hide. Look for discoloration, dark spots, or fuzzy patches. If you see any remaining growth, the remediation was not complete. Stains from old mold may still be present even after cleaning. These stains do not always indicate active growth, but they can contain allergens and should be addressed if they are extensive.
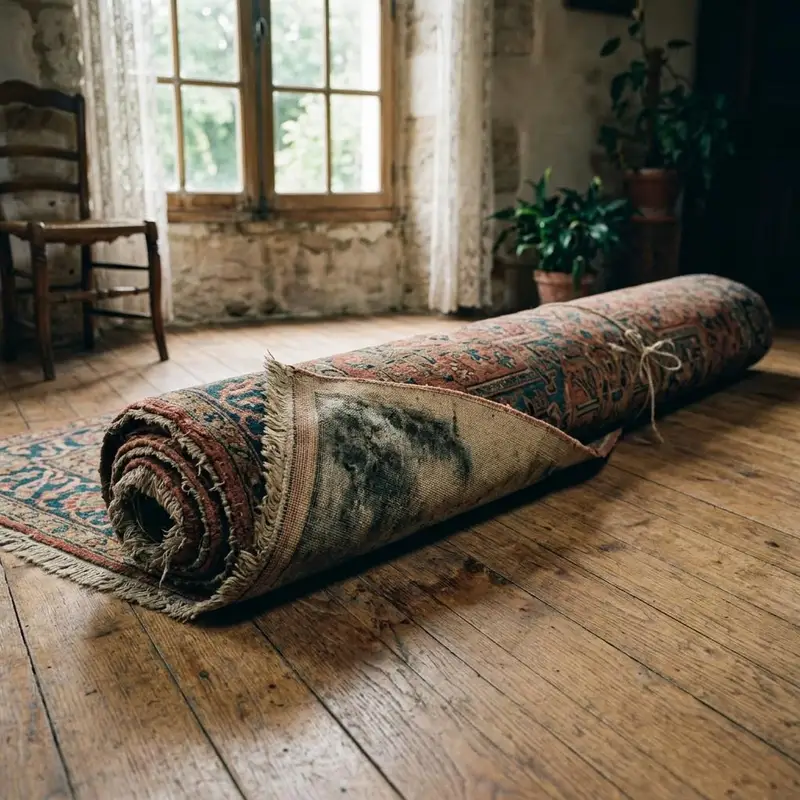
Pay special attention to the areas where the mold was most concentrated. If the original problem was in a carpeted room, examine the edges of the room and the padding underneath if possible. For wall cavities, you may need to use a borescope or consult a professional to confirm that no mold remains behind the surface. The goal is a visually clean environment with no signs of active or dormant mold.
Check Airborne Spore Levels with Professional Testing
Visual inspection alone cannot confirm that the air is clean. Mold spores are microscopic and can remain suspended in the air even after the source is removed. Professional indoor air quality testing measures the concentration of spores in the air. This is typically done by taking both indoor and outdoor air samples and comparing them. If the indoor spore count is higher than the outdoor count, or if the types of mold found indoors are different from the outdoor baseline, the remediation may not have been fully effective.
Air sampling should be performed after the area has been sealed and the HVAC system has been running for a period of time. This gives a realistic picture of the air quality during normal occupancy. Testing right after cleaning may show lower spore counts than what you would experience once the space is lived in again. Wait at least 24 to 48 hours after the final cleaning before taking air samples. The results will tell you whether the air is safe to breathe or if additional cleaning is needed.
When you arrange for testing, make sure the laboratory is accredited and that the sampling protocol follows standard guidelines. The report should list the types and concentrations of spores found. Compare the indoor results with the outdoor reference sample. If the indoor levels are significantly higher, the source of contamination has not been contained. In that case, further remediation or a different approach may be necessary. Carpet Mold Removal Services Pros carpet mold treatment includes a thorough process that aims to bring airborne spore levels down to natural background levels. This is one of the key indicators that the remediation was successful.
Evaluate HVAC Systems and Ductwork
Heating, ventilation, and air conditioning systems can spread mold spores throughout a building. If the ductwork was contaminated during the mold outbreak, it must be cleaned or replaced as part of the remediation. Check the air handler, filters, and duct registers for any signs of mold growth or dust. A musty smell coming from the vents is a strong indicator that the HVAC system is harboring spores.
Replace all filters after remediation, even if they look clean. Use high-efficiency filters that capture small particles. If the system has a UV light or an air purifier, verify that it is working correctly. Run the system for a few hours and then check the air quality in rooms that are served by the same ductwork. If the air quality deteriorates, the ductwork likely needs professional cleaning. The goal is to ensure that the HVAC system is not reintroducing mold into the cleaned space.
Test Surface Samples for Residual Mold
Air testing gives you a snapshot of what is floating in the air, but surface testing tells you whether mold is still growing on materials. Use a surface sampling method such as a tape lift or a swab on areas that were treated. Common test spots include the edges of carpet, the corners of walls, and any porous surfaces that were cleaned but not removed.
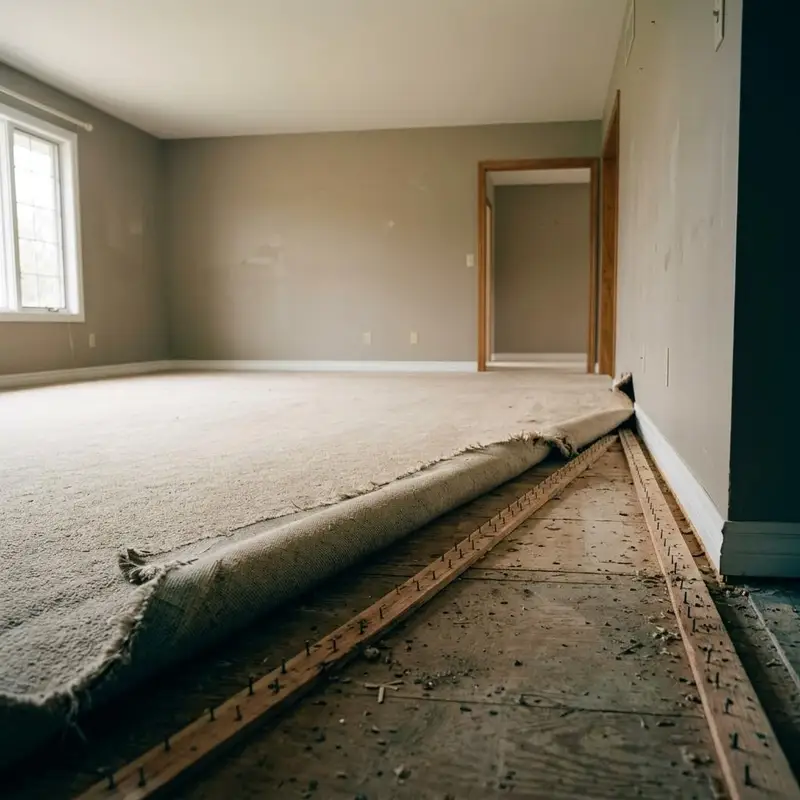
Surface samples are analyzed under a microscope to identify the types of mold present. If the same species that caused the original problem is found, the remediation was not complete. Non-porous surfaces such as glass or metal can usually be cleaned effectively. Porous materials like drywall, wood, or carpet are harder to fully clean. In many cases, porous materials that were heavily contaminated need to be removed and replaced rather than cleaned. If your surface tests show persistent mold growth, you may need to consider replacing those materials.
When you are working with a professional service, they should provide a clear report on the surface testing results. Carpet Mold Removal Services Pros carpet mold treatment typically includes post-remediation verification to confirm that surfaces are free of residual mold. This step is important for peace of mind and for documenting that the work was done properly.
Monitor Humidity Levels Over Time
Indoor humidity plays a major role in preventing future mold growth. Even after successful remediation, high humidity can allow new spores to settle and grow. Use a hygrometer to track relative humidity in the treated area. Keep indoor humidity below 60 percent, ideally between 30 and 50 percent. If the humidity rises above that range, use dehumidifiers or adjust ventilation to bring it down.
Monitor humidity over several weeks, not just a single day. Seasonal changes can affect moisture levels. A basement that is dry in winter may become damp in summer. If you see consistent high humidity, address the source. This could mean improving drainage, sealing cracks, or increasing air circulation. Low humidity also helps prevent dust mites and other allergens from thriving.
Verify That the Space Is Free of Musty Odors
Your nose is a useful tool for detecting mold problems. Even after cleaning, a musty or earthy smell indicates that mold is still present somewhere. Walk through the treated area after the work is complete. If you notice an odor, try to locate its source. It could come from a hidden area such as behind a wall, under the floor, or inside a closet. A smell that persists after remediation suggests that the problem has not been fully resolved.
If you cannot find the source, consider using an air quality monitor that detects volatile organic compounds. Some monitors can identify the specific compounds associated with mold. This can help pinpoint areas that need further attention. Do not use chemical air fresheners or masking agents to cover up the smell. They do not solve the problem and can cause additional irritation.
Document the Results for Future Reference
Keep a record of all testing and inspection results. This includes moisture readings, air sampling reports, surface test results, and humidity logs. Documentation is useful if you sell the property or if the mold problem recurs. It also helps you track the effectiveness of the remediation over time. If you notice changes in air quality months later, you can compare current readings to the baseline established after remediation.
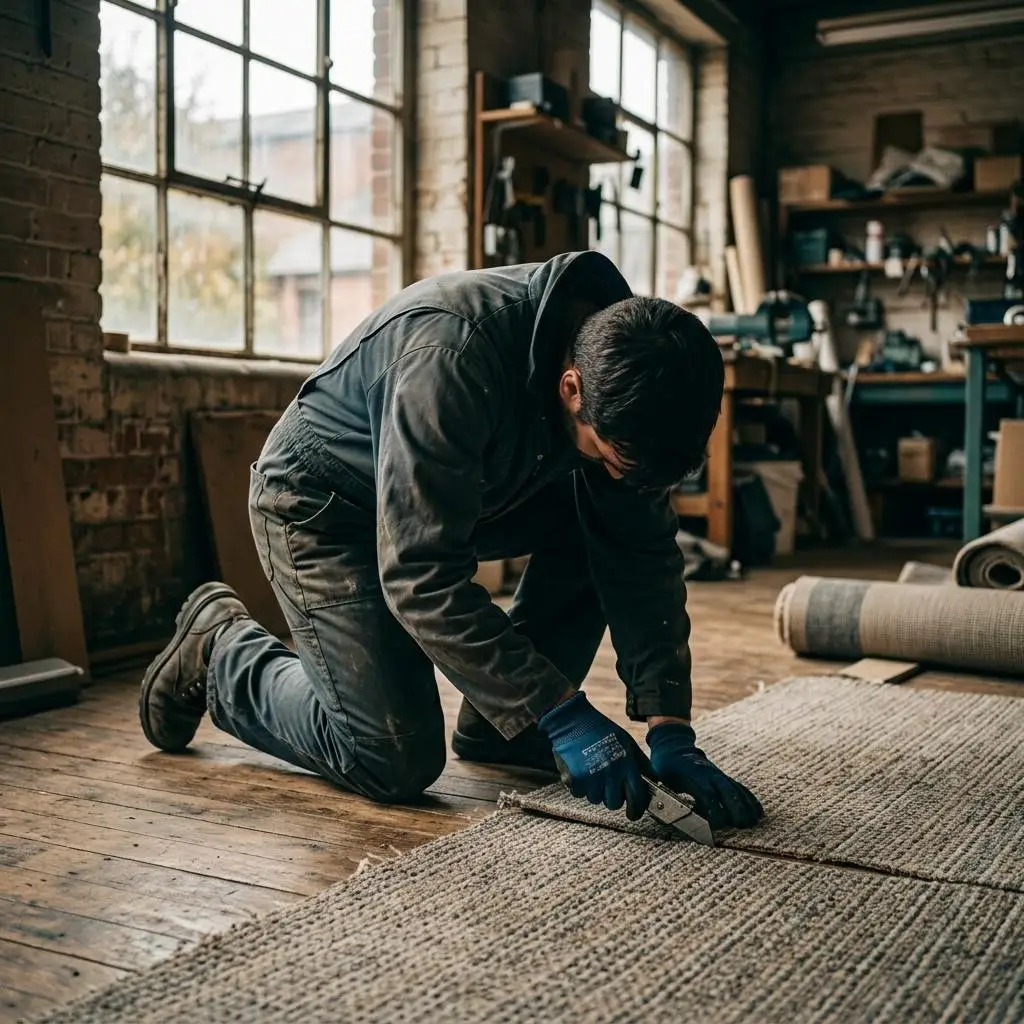
Take photographs of the treated areas before and after cleaning, along with any test results. Store them in a file along with the remediation contract and any warranties. This documentation can also serve as evidence for insurance claims if the mold damage was covered. Having a clear record shows that you took proper steps to address the issue.
Schedule a Follow-Up Inspection
Even if all tests come back clean, schedule a follow-up inspection three to six months after the remediation. This gives time for any hidden moisture problems to show themselves. A second round of air quality testing can confirm that the environment remains stable. If the follow-up results are good, you can be confident that the remediation was successful and that the indoor air quality is healthy.
Regular maintenance of the building envelope, plumbing, and HVAC systems will help prevent future mold problems. Stay vigilant about leaks and humidity. Catching a small problem early is much easier than dealing with a full remediation again. With a thorough post-remediation checklist, you can ensure that your indoor air quality remains clean and safe for the long term.